Hmmm…Where Do I Start?
As with any new journey that one embarks on, one has to do research, research, research. This is what I did and continue to do. There are so many improvements on a constant basis. If I had to simplify this journey, I would say start with a basic natural hair care regimen. These black natural hair care basics are for ALL types and colors of hair!
A regimen is simply a set of guidelines that are quite beneficial as one gets ‘in the swing of things’!

Hair Basics
- cleansing
- conditioning
- rinsing using teas and/or oils
- leave-ins/moisturizing
- sealing
Cleansing
I choose to call the first stage of my regimen – hair cleansing. I do this for the simple reason that I only use sulfate-free shampoo maybe three times in a year, all the other times, I use a conditioner or various mud washes to cleanse my hair and scalp.
Using conditioners, commonly referred to as ‘co-washing’, is far more gentle on your hair versus using a shampoo product. Fortunately, in today’s world, more shampoos are now being produced using no sulfates which in the past just served to strip the hair of its natural oils leaving it lifeless, brittle, dry and dull – no sheen or reflection of light on the hair.
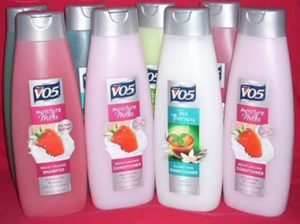
For a co-wash conditioner, I use the good ‘ole Alberto VO5 conditioner
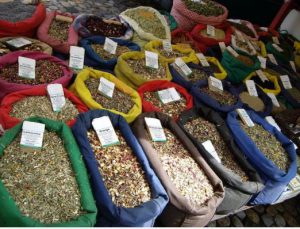
I cleanse my natural black hair with bentonite clay and Indian herbal powders. I simple add apple cider vinegar, black tea, assorted Indian powders such as Amla, Brahmi, Tulsi, etc. to name a few, to my bentonite clay mix.
I apply the mud wash to freshly co-washed cleansed hair and then allow the mix to sit on my hair under a plastic cap for at least 30 minutes. Then I rinse it out with tepid water. This leads me to the next step in my natural hair routine – conditioning.
Conditioning
Now, depending on the amount of time I have for my hair routine, this determines how much time I spend on this part of the regimen. Quite honestly, I try to do a deep conditioning of my hair at least once a week and surely, at least twice a month.
I sometimes use store bought deep conditioners or make my own. I love using a honey, banana, greek yogurt, henna, and coconut oil mixed into a simple conditioner.
When time is of the essence, I simply add olive oil or coconut oil to one of my VO5 conditioners on hand and let it stay on my hair for about 10 minutes while I do my shower routine, then rinse and continue the regimen.
Rinsing – Using Teas And/Or Oils
This next step is one I love.
I love using teas as rinses and also using oils. I usually make the tea rinse beforehand and then apply it after my conditioner. It is usually a short process. I do not rinse the tea out of my hair. I also like the tea to be tepid or even cool, as this helps to close my cuticles and leaves my hair shiny.
If I decide to do an oil rinse, I usually use olive or coconut oil. What this entails is basically the same principle as the tea rinse. You will just apply some oil and massage it through your hair. I like to wash my hair in the shower.
The reason is a simple one – it is much easier to detangle your hair once you ‘handle’ it in the way it falls under gravity – it hangs in a downward direction. It is just like shaving, you want to go in the direction of the hair growth or if you ‘go against the grain’, this might lead to ingrown hair – which can sometimes be painful.
Of course, this is not to say that washing your hair in any other direction, like kneeling over a bathtub, will cause ‘ingrown hair’, however, it will give you more tangles to untangle – which is certainly, no fun!
So, that said, I apply some oil to my hair after my conditioner and smooth along the hair in a downward motion. I ensure that all my hair is covered with some oil.
Another word of caution: whenever you do an oil rinse, be careful in the bathtub because things can get a bit slippery. Sometimes, after my oil rinse, I will lightly run some water over my hair, especially if I was a bit ‘heavy-handed’ in this step.
Leave-ins/Moisturizing
After the rinse comes the leave-in or moisturizer. This is another way to ensure that your natural black hair stays supple and detangled. For this step, I sometimes use Giovanni Direct Leave-In


When I have some time on my hands, I make my own natural leave-in/moisturizer. It is the Lily of the Desert Aloe Vera Gel
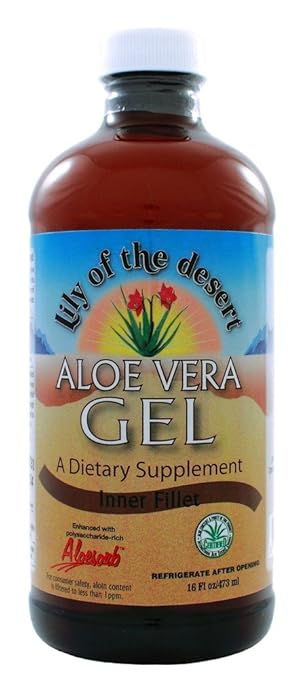

In any event, I add some aloe vera gel to a mixing bowl, add some conditioner and a little olive oil and then blend well. I add this mix to my hair as a leave-in. The aloe vera is a great natural detangler as well as a great moisturizer. I also use the aloe vera gel on its own.
Sealing
And the final step to my regimen, but by no means the least – the sealing of the hair. This is the part where you ‘lock-in’ all that goodness with which you have just nurtured your hair. I usually seal my hair with various oils and butters, shea butter


For this step, all you do is simply use a small amount of your choice of oil/butter and smooth into the hair before styling. This acts as a barrier also against the elements which can sometimes be harsh on your hair.
I hope you enjoyed reading this article and that you were able to gain some useful information. I would love your feedback and thank you so much for stopping by.
If you would like to learn more about creating an article like this one, CLICK HERE!